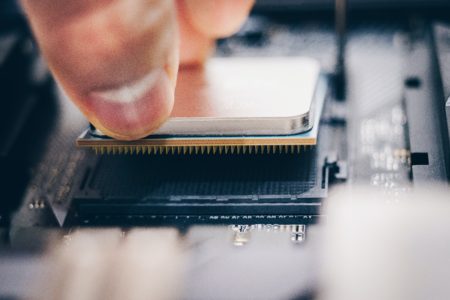
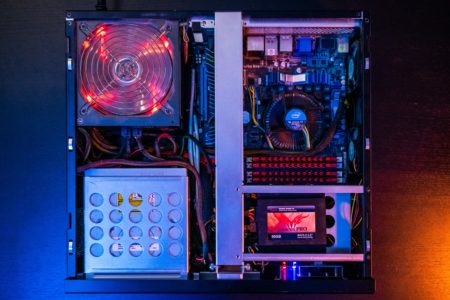
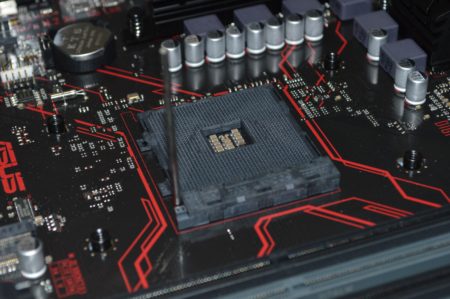
A motherboard, also known as a mainboard or system board, is a circuit board that serves as the primary platform for connecting all the components of a computer system. It provides the electrical and mechanical connections for all other components, such as the processor, memory, storage devices, and input/output devices.
The motherboard also contains various integrated circuits, such as the chipset, which provide essential functions such as managing data flow between components, controlling system power, and supporting input/output operations.
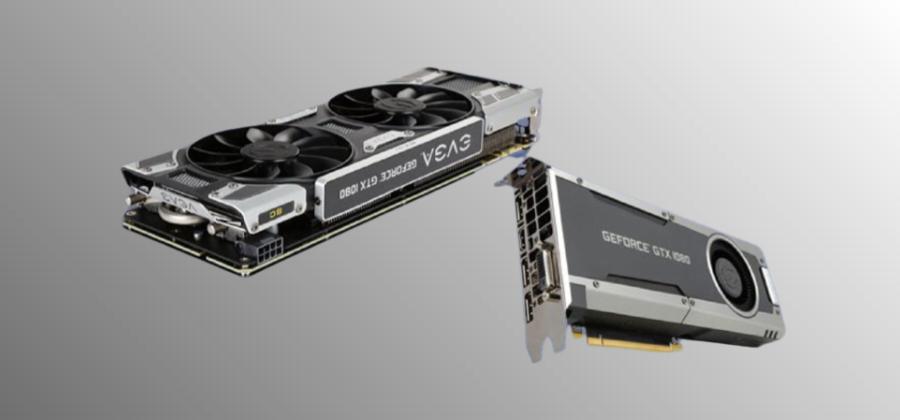
In addition, the motherboard typically includes various expansion slots and connectors for adding additional components, such as graphics cards, sound cards, and network interface cards.
The type and features of a motherboard can vary widely depending on the intended use of the computer system, such as for gaming, professional work, or general home use.
What is BIOS?
BIOS stands for Basic Input/Output System. It is firmware that is built into the motherboard of a computer system and is responsible for performing the initial startup procedures of the computer, including the hardware self-tests, loading the operating system, and configuring various hardware components.
The BIOS is typically stored on a small, read-only memory (ROM) chip on the motherboard and is accessible even when the computer is powered off. When the computer is turned on, the BIOS performs a Power-On Self Test (POST) to ensure that all the hardware components function properly.
The BIOS also provides an interface for configuring various settings, such as the system clock, boot order, and hardware configuration. During the boot process, these settings are typically accessed by pressing a key or key combination.
In modern computers, the BIOS has largely been replaced by the newer Unified Extensible Firmware Interface (UEFI), which provides a more advanced interface and greater flexibility in configuring system settings. However, the basic functions of the BIOS, including hardware initialization and booting the operating system, remain an essential part of computer startup.
How to flash BIOS?
Flashing the BIOS refers to updating or upgrading the firmware that controls a computer’s motherboard’s basic input/output system (BIOS). This process is sometimes necessary to fix bugs, add new BIOS features, or update the motherboard to support newer hardware or operating systems.
To flash the BIOS, you need to download the appropriate file from the motherboard manufacturer’s website, transfer it to a USB flash drive, and boot the computer into the BIOS setup utility. From there, you can initiate the flashing process, which typically involves selecting the BIOS file and confirming the update.
Flashing the BIOS can be risky, as a failed or interrupted update can render the motherboard unusable. Therefore, it’s recommended that you only attempt to flash the BIOS if you are experienced with computer hardware and have a solid understanding of the flashing process.
It’s also important to ensure you have the correct BIOS file for your motherboard model and revision, as using the wrong file can also cause serious problems. In general, you should only flash the BIOS if you are experiencing specific issues that can be resolved through a BIOS update. You should always follow the manufacturer’s instructions carefully.
Advantages of flashing BIOS
Flashing the BIOS of a computer’s motherboard can provide several advantages, including:
Improved system stability: BIOS updates can address bugs and glitches in the firmware that controls the motherboard, improving system stability and reducing crashes or freezes.
Increased performance: BIOS updates can optimize the firmware for better performance, potentially increasing the speed and responsiveness of your system.
Enhanced functionality: BIOS updates can add new features to the firmware, such as support for new hardware or technologies, providing enhanced functionality and capabilities.
Improved compatibility: BIOS updates can provide compatibility with newer hardware or operating systems that may not be supported by the existing firmware, allowing you to upgrade your system without replacing the motherboard.
Enhanced security: BIOS updates can address security vulnerabilities in the firmware that could allow attackers to gain unauthorized access to your system, providing increased security and protection for your data.
How to flash BIOS?
Flashing the BIOS of a computer’s motherboard is an advanced procedure that can damage your system if not done correctly. However, updating the BIOS to fix bugs, add new features, or support new hardware or operating systems can also be necessary. Here are the steps to safely and correctly flash your computer’s BIOS.
Step 1: Identify your motherboard model and revision
Before you can begin the flashing process, you need to identify your motherboard’s exact model and revision. This information is typically printed on the motherboard itself or found in the documentation that came with it. You can also use system information tools such as CPU-Z or Speccy to identify your motherboard model and revision.
Step 2: Download the correct BIOS file
Once you have identified your motherboard model and revision, visit the manufacturer’s website to download the appropriate BIOS file for your system. Make sure to download the correct file for your motherboard model and revision, as using the wrong file can cause serious problems.
Step 3: Prepare a bootable USB flash drive
You will need to transfer the BIOS file to a bootable USB flash drive to flash the BIOS. To do this, insert a USB flash drive into your computer and format it to FAT32. Then, download a utility such as Rufus or UNetbootin to create a bootable USB drive with the BIOS file.
Step 4: Enter the BIOS setup utility
Before beginning the flashing process, you must enter the BIOS setup utility. To do this, restart your computer and press the key indicated on the screen to enter the BIOS setup. This key is typically F2 or Delete but may vary depending on your system.
Step 5: Backup your current BIOS
Before flashing the new BIOS, creating a backup of your current BIOS is recommended in case something goes wrong during the flashing process. Look for an option in the BIOS setup utility to save or backup the current BIOS to a file on the USB flash drive.
Step 6: Flash the new BIOS
Once you have backed up your current BIOS, look for an option in the BIOS setup utility to flash or update the BIOS. Select this option, and then navigate to the BIOS file on the USB flash drive. Follow the instructions provided by the manufacturer to flash the new BIOS.
Step 7: Verify the new BIOS
After completing the flashing process, restart your computer and enter the BIOS setup utility again. Verify that the new BIOS version is installed and all settings are correct. If you encounter any problems or errors, try resetting the BIOS to its default settings or restoring the backup of your previous BIOS.
Conclusion:
In conclusion, flashing the BIOS of a computer’s motherboard can be a necessary procedure to update the firmware and improve the performance or compatibility of the system. However, it is also a complex and potentially risky process that experienced users should only attempt. Before attempting to flash the BIOS, it is important to identify the exact model and revision of the motherboard, download the correct BIOS file from the manufacturer’s website, create a bootable USB flash drive, and back up the current BIOS. Once these steps are complete, the new BIOS can be flashed using the BIOS setup utility, following the manufacturer’s instructions carefully. After the flashing process is complete, verifying the latest BIOS and ensuring all settings are correct is essential. With careful attention to detail and a cautious approach, flashing the BIOS can help keep your computer running smoothly and up-to-date.


